8 Managing Configurations
This section describes the design issues associated with multiple configuration environments.
This section includes the following topics:
About Configuration Management
When you install Oracle Warehouse Builder and create a new repository, you have a default project with a single automatic default configuration, DEFAULT_CONFIGURATION. See Figure 8-1 and note that each new project has an automatic DEFAULT_CONFIGURATION. You can observe this by expanding the Configurations node in Project Navigator. Note also that the active configuration appears on the toolbar as DEFAULT_CONFIGURATION.
This default configuration contains the default physical properties of all the data objects in the project; these properties are necessary for deployment. As a single entity, the DEFAULT_CONFIGURATION enables deployment to the default control center, DEFAULT_CONTROL_CENTER, and default agent, DEFAULT_AGENT, which are necessary to the internal workings of Oracle Warehouse Builder.
When you define a new configuration, Oracle Warehouse Builder adds it to the list of configurations. With multiple configurations, you can specify how the same logical object may be defined across various environments: you can define multiple physical properties and deployment details for a single table, view, or other such object. In this manner, configurations enable you to connect design objects to their realizations.
If you link a configuration to a template, the configuration picks up the default values of the configuration properties from this template; enabling you to override the existing set of configuration values with your own values.
Configurations have several roles in Oracle Warehouse Builder environment:
-
The key role of a configuration is to determine which Control Center Service and Control Center Agent manage the deployment and the deployment location. A configuration is always associated with only one Control Center and CCA, and specifies which of the services controls the deployment of any objects when this configuration is active. The configuration settings of the design objects control the
Locationproperty. For example, each Oracle Database module has a configuration propertyLocation; the value of theLocationproperty must be a reference to an Oracle Database location, and it determines where any objects inside the module are deployed. -
The other role of configurations is to capture information specific to the creation and use of an object for a specific location. For example, you can define the tablespace where a new table should be created.
Figure 8-1 Oracle Warehouse Builder Configuration Management
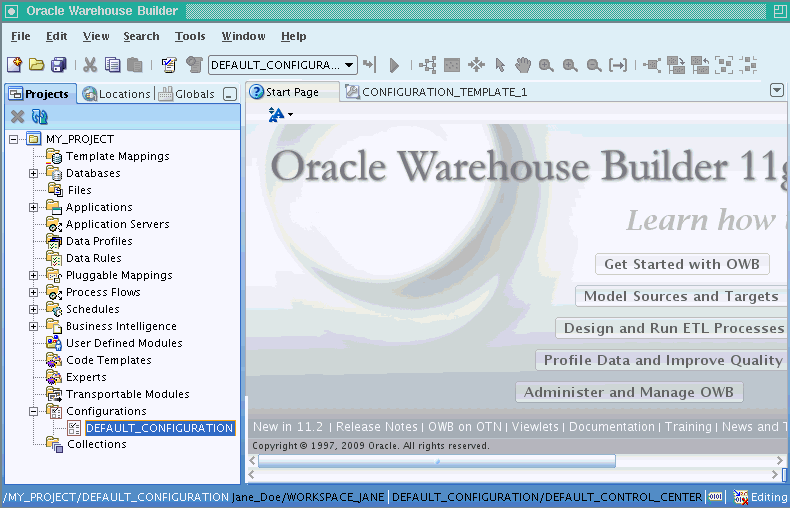
Description of "Figure 8-1 Oracle Warehouse Builder Configuration Management "
Configuration details are grouped by type, such as performance parameters, storage space for tables, and so on. Because each object type can have several configuration properties that are not used or have general defaults, Oracle Warehouse Builder uses Configuration Templates to simplify how much the user must do.
Configuration Templates may be used to override automatic default values for configuration properties and to flag the properties for either the general set or the advanced set. For example, one may move the less frequently used configuration properties to the advanced set.
Creating Configurations Templates
To create a configuration template:
-
In the Globals Navigator, select Configuration Templates.
-
Right-click Configuration Templates, and select New Configuration Template.
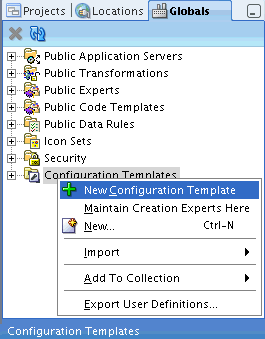
Description of the illustration new_config_temp_01.gif
The Create Configuration Template wizard opens. On every screen of the wizard, you have the option of clicking Help to get more information.
-
On the Name and Description screen, enter the Name of the new configuration template, and optionally, its Description.
Click OK.
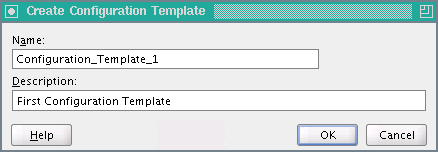
Description of the illustration new_config_temp_02.gif
-
The new Configuration Template appears in the right pane of Oracle Warehouse Builder console.
When you create a new configuration template, its default setting of advanced options is initially set to be identical to previously created configuration templates.
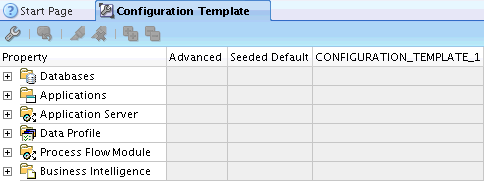
Description of the illustration new_config_temp_03.gif
Editing Configuration Templates
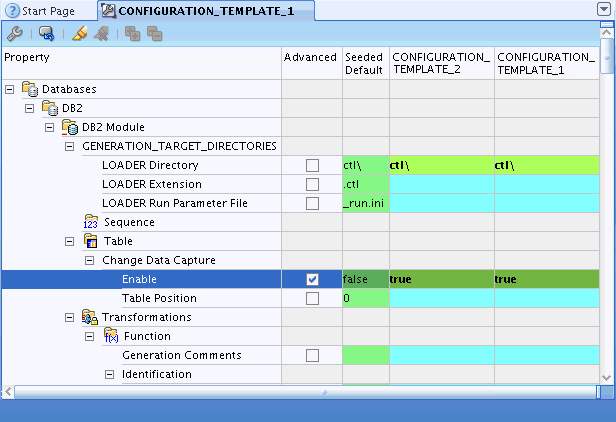
To edit the configuration values in a template, use the Configuration Template Editor, that enables to set the configuration properties of objects to Advanced, and to override the existing configuration defaults.
The configuration template editor can show the different templates side by side, to help compare and edit multiple templates.
To edit a configuration template:
-
In the Globals Navigator, under Configuration Templates, click the Manage Configuration Template Columns icon.

Description of the illustration edit_config_temp_01.gif
-
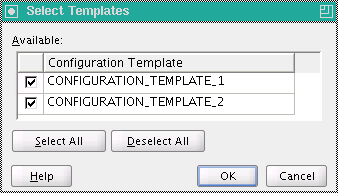
In the Select Templates window, select the templates you want to edit.
Click OK.
Description of the illustration edit_config_temp_02.gif
-
Click the Expand All icon.

Description of the illustration edit_config_temp_03.gif
-
Make changes to the side-by-side templates.
Description of the illustration edit_config_temp_04.gif
Activating Configurations
-
In the Project Navigator, select a project and expand its navigation tree.
-
Expand the Configurations folder.
-
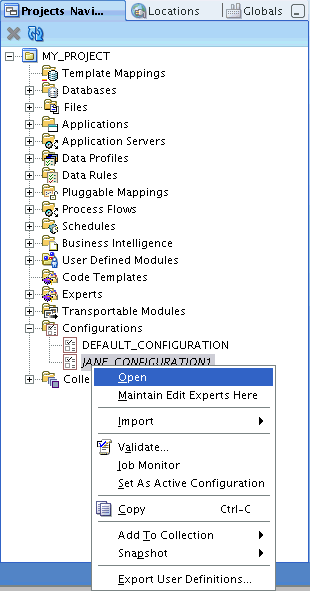
Select a configuration.
-
Right-click the selected configuration; from the menu, select Set As Active Configuration.
Description of the illustration set_config_01.gif
All changes that you make to the configuration parameters of objects are saved in this configuration. If you switch to the previous configuration, these parameters show the settings of that configuration.
The Control Center service and Control Center Agent associated with this configuration are now set; they manage all future deployments or executions.
Configuring Objects
When you choose the Configure option for any object, it shows the set of configuration properties with the default values that are defined in the Configuration Template. You can expand the Property tree to see all properties.
Configuration defines the physical characteristics of data objects. These may include defining a tablespace and setting performance parameters in the configuration of a table.
You may change the configuration of an object at any time before deployment, and that it is possible to define multiple configurations for the same set of objects. This is particularly useful when deploying to multiple environments, such as test and production.
All objects have a parameter deployable, which is selected by default. To prevent an object from being deployed, deselect this parameter.
-
In the Project Navigator, select the object to configure.
-
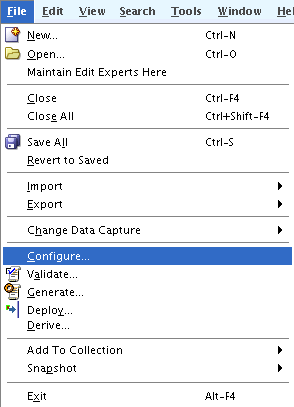
In the File menu, click Configure.
Description of the illustration configuration_01.gif
The Configuration editor is displayed.
-
Select a parameter to display and edit its value in the right-side panel.
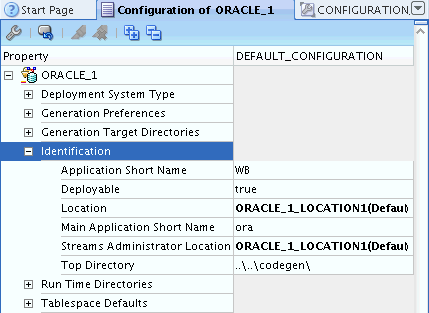
Description of the illustration configuration_02.gif
-
Click Help for additional information.